
Before you begin, you will want to think about a couple of things. What color and size you want the text to be, and what color is the background that you will be putting it on. You will want to match the background color of this project to the background color of whatever you are going to use it with. This is not absolutely necessary, but I think it looks tons better.
- Create a new document of whatever size you want the text to be.
- Select the color you want the text to be in the foreground color tile. I am going to make mine red.
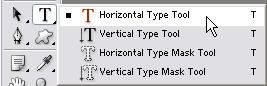
- Select the horizontal type tool, and type your text. I am using a font called Arial Rounded MT Bold at a height of 100pt. Bolder fonts will work better for this, but choose whichever you like.
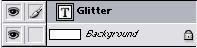
You should now have a background layer and a text layer
Next you will need to rasterize the type so that we can add filters to it. Select Layer/Rasterize/Type. Now duplicate the type layer twice so that we have 3 layers of the text. Make sure the type layer is highlighted as shown above and choose Layer/Duplicate Layer and click OK. Do this one more time. Highlight the top layer of text, and select Filter
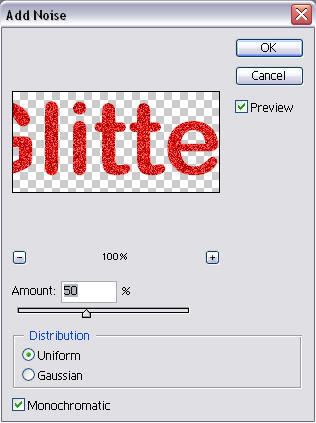
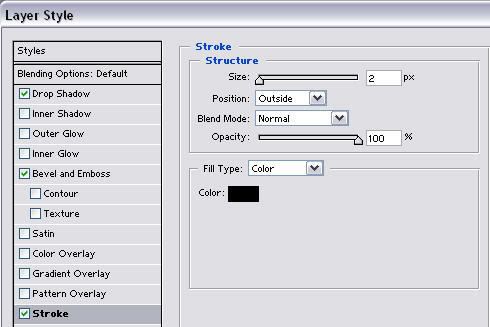
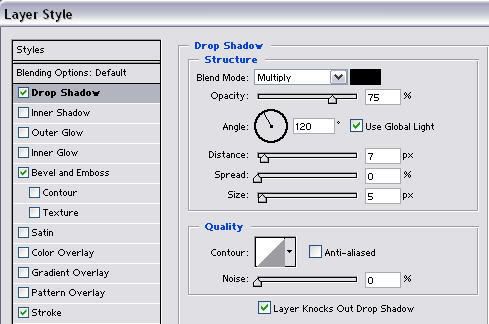
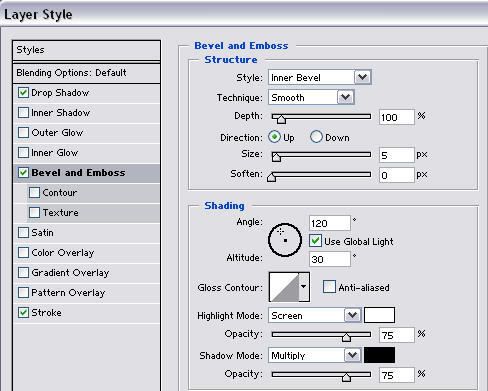
Then hightlight the next layer, but this time add noise at 55%. On the last type layer add noise at 60%. Now we will add a bit of spice to the text to make it really pop. Highlight the top layer and select Layer/Layer Style/Blending Options. I am going to add a stroke, a drop shadow, and some bevel and emboss using the settings shown below. You may have to tweak your settings a bit depending on the type and size of font you are using.

Next we will need to copy this layer style to our other text layers. Right click on the top layer and select Copy Layer Style. Now right click on each of the other two text layers and choose Paste Layer Style. Now the only difference between the layers is the level of noise.
To create our animation we will need to jump over to ImageReady. Cick on the jump to ImageReady button.

Once in ImageReady, make sure your animation window is showing. If not select Window/Animation.
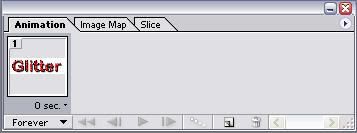
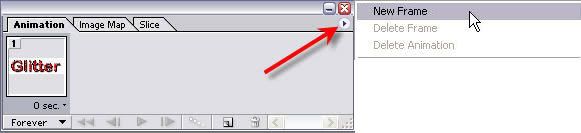
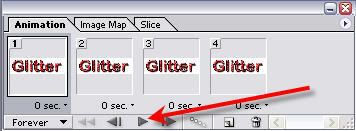
At this point we only want the top text layer and the background layer to be showing. Turn the other text layers off by clicking on the little eyball on their layers. You should have one frame showing as above. Click on the flyout menu of the animation window and select New Frame.
Now turn off the top layer, and turn on the next layer of text. Add a new frame, turn off the text layer that is on, and turn on the bottom text layer. Add one more frame and use the middle text layer again. You should now have 4 frames in your animation. Hit the play button to see how it looks
Once you have it the way you want, you will need to save it. Make sure your optimize window is set to GIF. If you can't see the optimize window select Window/Optimize. Here are the settings I use.
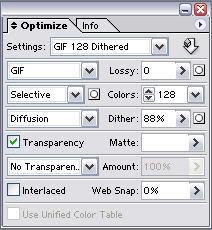
Now you will need to select File/Save Optimized As. Choose a folder and a name, and your animated glitter text is web ready.
Here is how mine turned out


0 comments
Post a Comment